Why Printing Method Matters
Flexible packaging is printed using either gravure or flexographic printing. Each has a different cost structure, a different ceiling for visual quality, and a different volume range where it makes commercial sense.
A mismatch between artwork complexity, order volume, and printing method doesn’t usually cause obvious failures — it shows up as colour drift between batches, fine details that don’t hold, or setup costs that don’t justify the run size. These compounds over time, especially for buyers who plan to reorder regularly.
Common Printing Methods
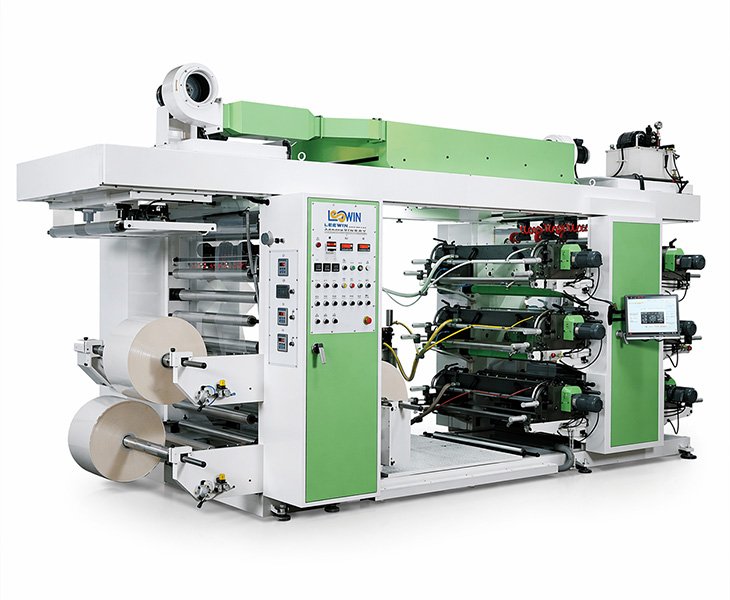
Gravure Printing
Gravure uses engraved metal cylinders — one per colour — to apply ink to the film. The cylinders are precision-made, which is where the cost sits, but also where the consistency comes from. Once calibrated, a gravure press holds colour very stably across a long run. The same cylinders get reused on repeat orders, which means the second and third production runs should look the same as the first.
For buyers with established packaging designs, stable SKUs, and regular reorder cycles, gravure is usually the better long-term option. The upfront cylinder cost is real, but it spreads across volume, and the print quality — particularly on photographic images, fine detail, and multi-colour designs — tends to be more reliable than flexo at equivalent complexity.
Where gravure pays off: high-volume runs, repeat orders with unchanged artwork, and any design where colour accuracy across batches genuinely matters. Coffee, frozen seafood, pet food, and branded food products with a strong shelf presence — this is where gravure is the standard approach for a reason.
Flexographic Printing
Flexo uses photopolymer plates instead of engraved cylinders. Plate cost is lower, setup is faster, and the lead time from file to production is shorter. For buyers who are still refining their design, running smaller volumes, or not yet at a stable reorder frequency, flexo makes more sense economically.
Print quality has improved considerably. Solid colour areas, bold text, and simple graphics reproduce well. Where flexo is more limited is in tight gradients, high-detail photography, and colour accuracy that needs to hold consistently across many batches. If the design is straightforward and the run is moderate, flexo covers it without the cylinder investment.
The practical difference for repeat orders: changing artwork in gravure means new cylinders and a reset on setup cost. In flexo, new plates — lower cost to revise. Buyers who expect design updates between orders should factor this in before committing to gravure.
How to Choose Between Them
Volume decides this more than anything. High-volume orders with stable designs and regular reorders — gravure will cost less per unit over time despite the higher entry cost. Shorter, less predictable runs — flexo is the more commercially realistic option.
Beyond volume: if the artwork involves photography, fine detail, or needs to be colour-accurate across multiple batches, gravure handles this more reliably. If the design is simple and the run is moderate, flexo gets there without the cylinder investment.
Lead time matters for first orders. Cylinder engraving takes longer than plate production. If the timeline is tight, flexo is usually faster to the first delivery.
If you’re comparing the two for a specific project, share the artwork, expected order volume, and how often you plan to reorder. We’ll give a direct recommendation based on what we see, not a general answer.
Artwork and Production Considerations
The gap between what looks right on screen and what comes off the press is where most pre-production problems live. A few points that come up regularly in our artwork review process:
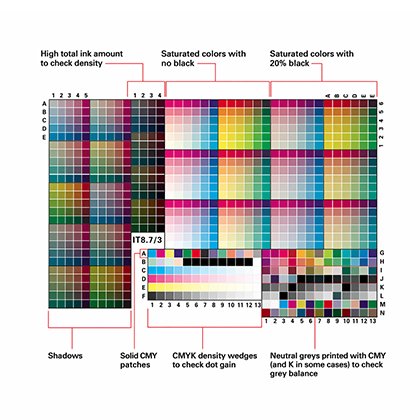 Colour Mode
Packaging print runs in CMYK, not RGB. Files built in RGB get converted, and some colours shift significantly — particularly bright blues, greens, and oranges. This is one of the most common issues we see on first submissions from buyers who have prepared files in design software set to screen output. Set to CMYK from the start, and use Pantone references where a specific shade needs to be exact.
 Sealing Areas
Top seal, bottom seal, side seals — none of these are print areas. Artwork running into the seal zone gets obscured or distorted by the heat seal. It’s a consistent issue on files from buyers who haven’t worked with flexible packaging formats before, and it has to be corrected before the file goes anywhere near a plate.
 Safe Zones and Bleed
Logos, text, and key design elements need to sit inside the safe zone. Background artwork that runs to the bag edge should extend into the bleed area. Missing bleed is a straightforward fix — but it delays approval if it’s caught late.
 Fine Detail
Very fine text and thin lines don’t always hold cleanly, particularly in flexo. Minimum line weights depend on the method. Confirm before artwork is finalised — not at proof stage.
 Colour Count
Each colour requires its own cylinder or plate. More colours mean higher setup cost. Designs with a high colour count are sometimes worth a quick review — occasionally two similar shades can be merged without much visible difference, which reduces a plate without affecting the result.
 Registration
Multi-colour printing applies each colour in a separate pass, and some alignment variation between passes is normal. Designs that put different colours in very close proximity can show that variation more visibly. If the artwork has these features, flag it during review and we’ll advise on what’s practical.
What to Prepare Before Printing
Most delays at the print stage come from file issues, not press problems. What makes a submission straightforward:
A print-ready PDF or Illustrator file, CMYK, at the correct bag dimensions, with fonts outlined or embedded.
Artwork laid out on the correct dieline for the bag format and size. If you don’t have the dieline yet, request it before starting layout — working on the wrong template creates rework.
CMYK and Pantone references are clearly noted. If the colour needs to match an existing printed sample, send the physical sample with the file.
Rasterised images at 300dpi minimum at actual print size. Lower resolution prints are soft and can’t be corrected at press.
Support for Print-Ready and Non-Print-Ready Files
If the file is production-ready, we’ll review it against the dieline, check seal areas, bleed, colour setup, and registration-sensitive areas before anything goes to plate. Issues get flagged with specific notes — not a generic rejection — and confirmed before we proceed.
If the file isn’t ready — rough visuals, RGB exports, files missing bleed or set up on the wrong template — we’ll advise on what needs to be corrected. In some cases, we can handle the corrections directly. In others, the file needs to go back to a designer with a clear brief on what’s required.
Nothing goes to the plate without confirmed proof of approval. That applies to first orders and repeat orders where the artwork has changed.
Depends on how they were built. Screen and offset files often need adjustments for flexible packaging — colour mode, resolution, safe zones, bleed. Send what you have and we’ll tell you specifically what needs to change before it’s production-ready.
Most runs are between four and eight colours. More is possible, but each colour adds a cylinder or plate and increases setup cost. If the colour count is high, it’s worth reviewing whether any shades can be consolidated before committing to plates.
It depends on bag size, structure, and colour count — there’s no single number. Gravure makes more economic sense at higher volumes. For smaller runs, flexo is usually the better starting point. Share your volume and design and we’ll give a direct comparison.
Close, but not identical. RGB screens and CMYK printing render colour differently. Pantone referencing and proper colour management close most of the gap. If you need the closest possible match, a physical proof is more reliable than screen approval.
Yes, but for gravure it means new cylinders — which resets the setup cost. For flexo, new plates are needed but at lower cost. If artwork changes are likely between orders, that’s worth factoring into the method decision before the first run.
PDF is standard. Illustrator files generally work too. CMYK, correct dimensions, fonts outlined or embedded, on the right dieline. If you’re unsure about any of these, send the file and we’ll check it.
Yes. Front, back, and gusset panels are all printable depending on the format. The dieline shows the full printable area. Seal zones and fold lines are not print areas.
Cylinders or plates go into production. We confirm lead time at that point. A physical production sample is typically available for review before the full order ships.
Related Products
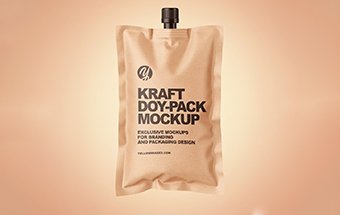 Liquid Pouches
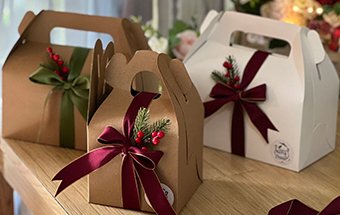 Gift Bags
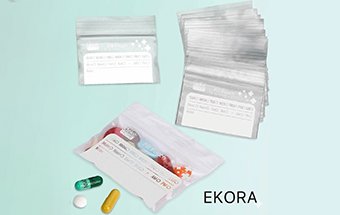 Medical Packaging Bags
 Cosmetic Packaging Bags
 Detergent Pouch
 Agricultural Bags
 Electronic Packaging Bag
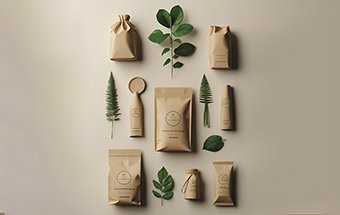 Eco-Friendly Packaging Bags
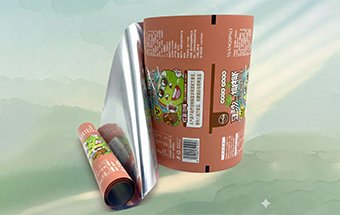 Packaging Film